How to Build Your First Website With DreamHost and WP Site Builder
4 min read
Globally harness multimedia based collaboration and idea-sharing with backend products. Continually whiteboard superior opportunities via covalent scenarios.
Step 1: Sign Up for a Hosting Plan
In order to showcase your website to the world, you’ll need a web hosting service. Web hosts provide the physical server space you’ll need for your site’s files. Everything that makes up your website will “live” on that server, and be made accessible to visitors through their browsers.
Shared web hosting is one of the most popular kinds of plans. That’s because it’s a cost-effective way to get started with a website. Shared plans are inexpensive since you’ll share the space on a physical server with other users, but no one will be able to access your site’s files.
Our Shared Unlimited hosting plan is an excellent way to get started with WordPress. Not only will you be able to have WordPress pre-installed and ready to go, but you can host unlimited websites as well. Additionally, you’ll be free to welcome unlimited traffic to your site, with no fees for overages.
You’ll also want to pay attention to a few options during the checkout process. For example, you can select the boxes related to installing WordPress and enabling WP Site Builder, and have those tasks taken care of during registration.

Step 2: Get Comfortable With Your DreamHost Panel
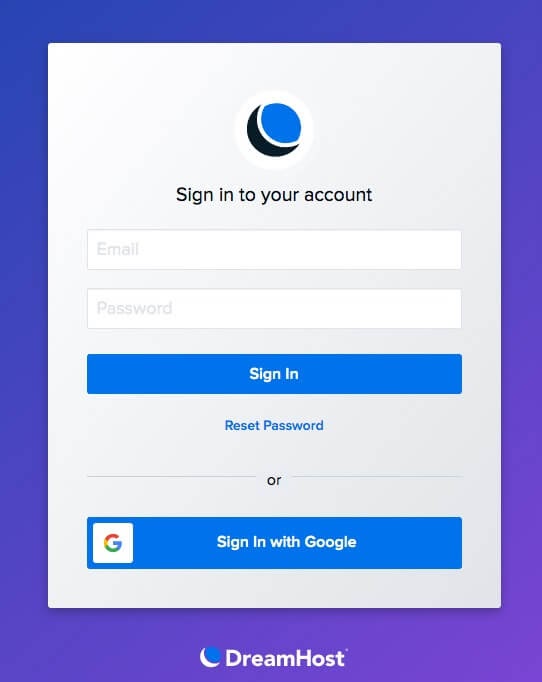
Once you’ve purchased your DreamHost plan, you’ll be able to log in to your personal control panel. Many of the tools you need to manage and run your website will be located there. Simply visit the DreamHost user panel login page and use the email and password you chose during your account setup.
Once you are logged into your user panel, you’ll see a variety of elements that will help you manage your website:
- Domains. This menu provides you with access to manage your registered domains or add new ones.
- WordPress. Here you can manage one-click installations or access DreamPress services if you purchased them.
- Mail. In this menu area, you’ll be able to configure all aspects of your website-related email.
- Users. If you need to add users to the account with varying levels of access and privileges, this part of the menu has the options you’ll need.
- MySQL Databases. Found under the More accordion menu, you can use this option to access your MySQL databases.
Step 3: Register a Domain
Your website’s domain is the primary URL for your site (https://mysite.com) and is how visitors will find it online. You have to purchase and register a domain before making your site live. You’ll also want to give your domain name a lot of thought since it can be difficult to change.
Our Shared Unlimited hosting plan comes with a free domain name registration credit. This credit is available for plans registered on an annual basis and must be used within the first month of your contract. In other words, you get a free domain, and you can select it right away or take up to a month deciding on the perfect name.
Step 4: Access and Customize Your New WordPress Website
If you did not enable WP Site Builder during your DreamHost account setup, you can contact support to have it turned on. This is an indispensable tool for designing your website, especially if you’re on a tight timeline.
Depending on the services you’ve chosen, you may also have some one-click options for accessing your WordPress admin page. However, if you’re using an Unlimited Shared plan, you can simply go to yourwebsitename.com/wp-admin to log in.
Step 5: Add an SSL Certificate to Your Site
Secure Sockets Layer (SSL) certificates secure the transmission of sensitive information across the web. This means you’ll be able to offer your site’s users the promise of secured interactions. You can tell if a website is using SSL because its URL will include “https” rather than just “http.”
If you’re using DreamHost to operate a personal website or blog, you can take advantage of our free SSL certificate offer. Alternatively, if you plan on running an e-commerce website, you might want to check out our partnered offer with Sectigo Verified SSL.
Either way, to add an SSL certificate to your DreamHost website, you’ll first need to navigate to Manage Domains > SSL/TSL Certificates in your DreamHost user panel.
Step 6: Set Up an Email Address
While providing social media options for connecting with your website visitors is smart, having a website-related email address is still recommended. Fortunately, our Shared Unlimited hosting plan also comes with unlimited email.
You can access all your mail settings from the DreamHost user panel by clicking on Mail.
Step 7: Add DreamShield Malware Remover to Your Account
After putting so much time and effort into building your new website, you’ll want to make sure it’s protected from malicious code or software. You can do that by adding DreamShield to your domain.
To do so, in your DreamHost user panel, navigate to Domains > Manage Domains, and you’ll find the DreamShield option.
DreamShield is an add-on service for $3 per month. Your site will be scanned regularly for malware, and you’ll be notified via email if any is found. You can also add DreamShield during your account registration, and have the option to remove it at any time from your user panel.
Start Your Website Today
Starting a website from scratch with a new web host means you probably have a lot to think about. Here at DreamHost, we want to help you attend to all the crucial elements quickly and effectively.
To get your new WordPress website up and running, just keep in mind these important steps. You’ll want to:
- Sign up for a hosting plan.
- Get comfortable with your control panel.
- Register a domain.
- Access and customize your site.
- Add an SSL certificate.
- Set up an email address.
- Add DreamShield for malware protection


Great article! I loved the humor you infused into the topic. For a deeper dive, check out this link: EXPLORE NOW. What do you think?